[ Edit me ]
Make Nordd yours
Six steps. Everything is native Framer or a labelled control. Delete this page before you publish.
01
Posts
Open CMS › Posts. Add a title, excerpt, cover photo, category, author and body. Tick Featured on one post to put it in the big Featured block on Home.
02
Covers turn into prints by themselves
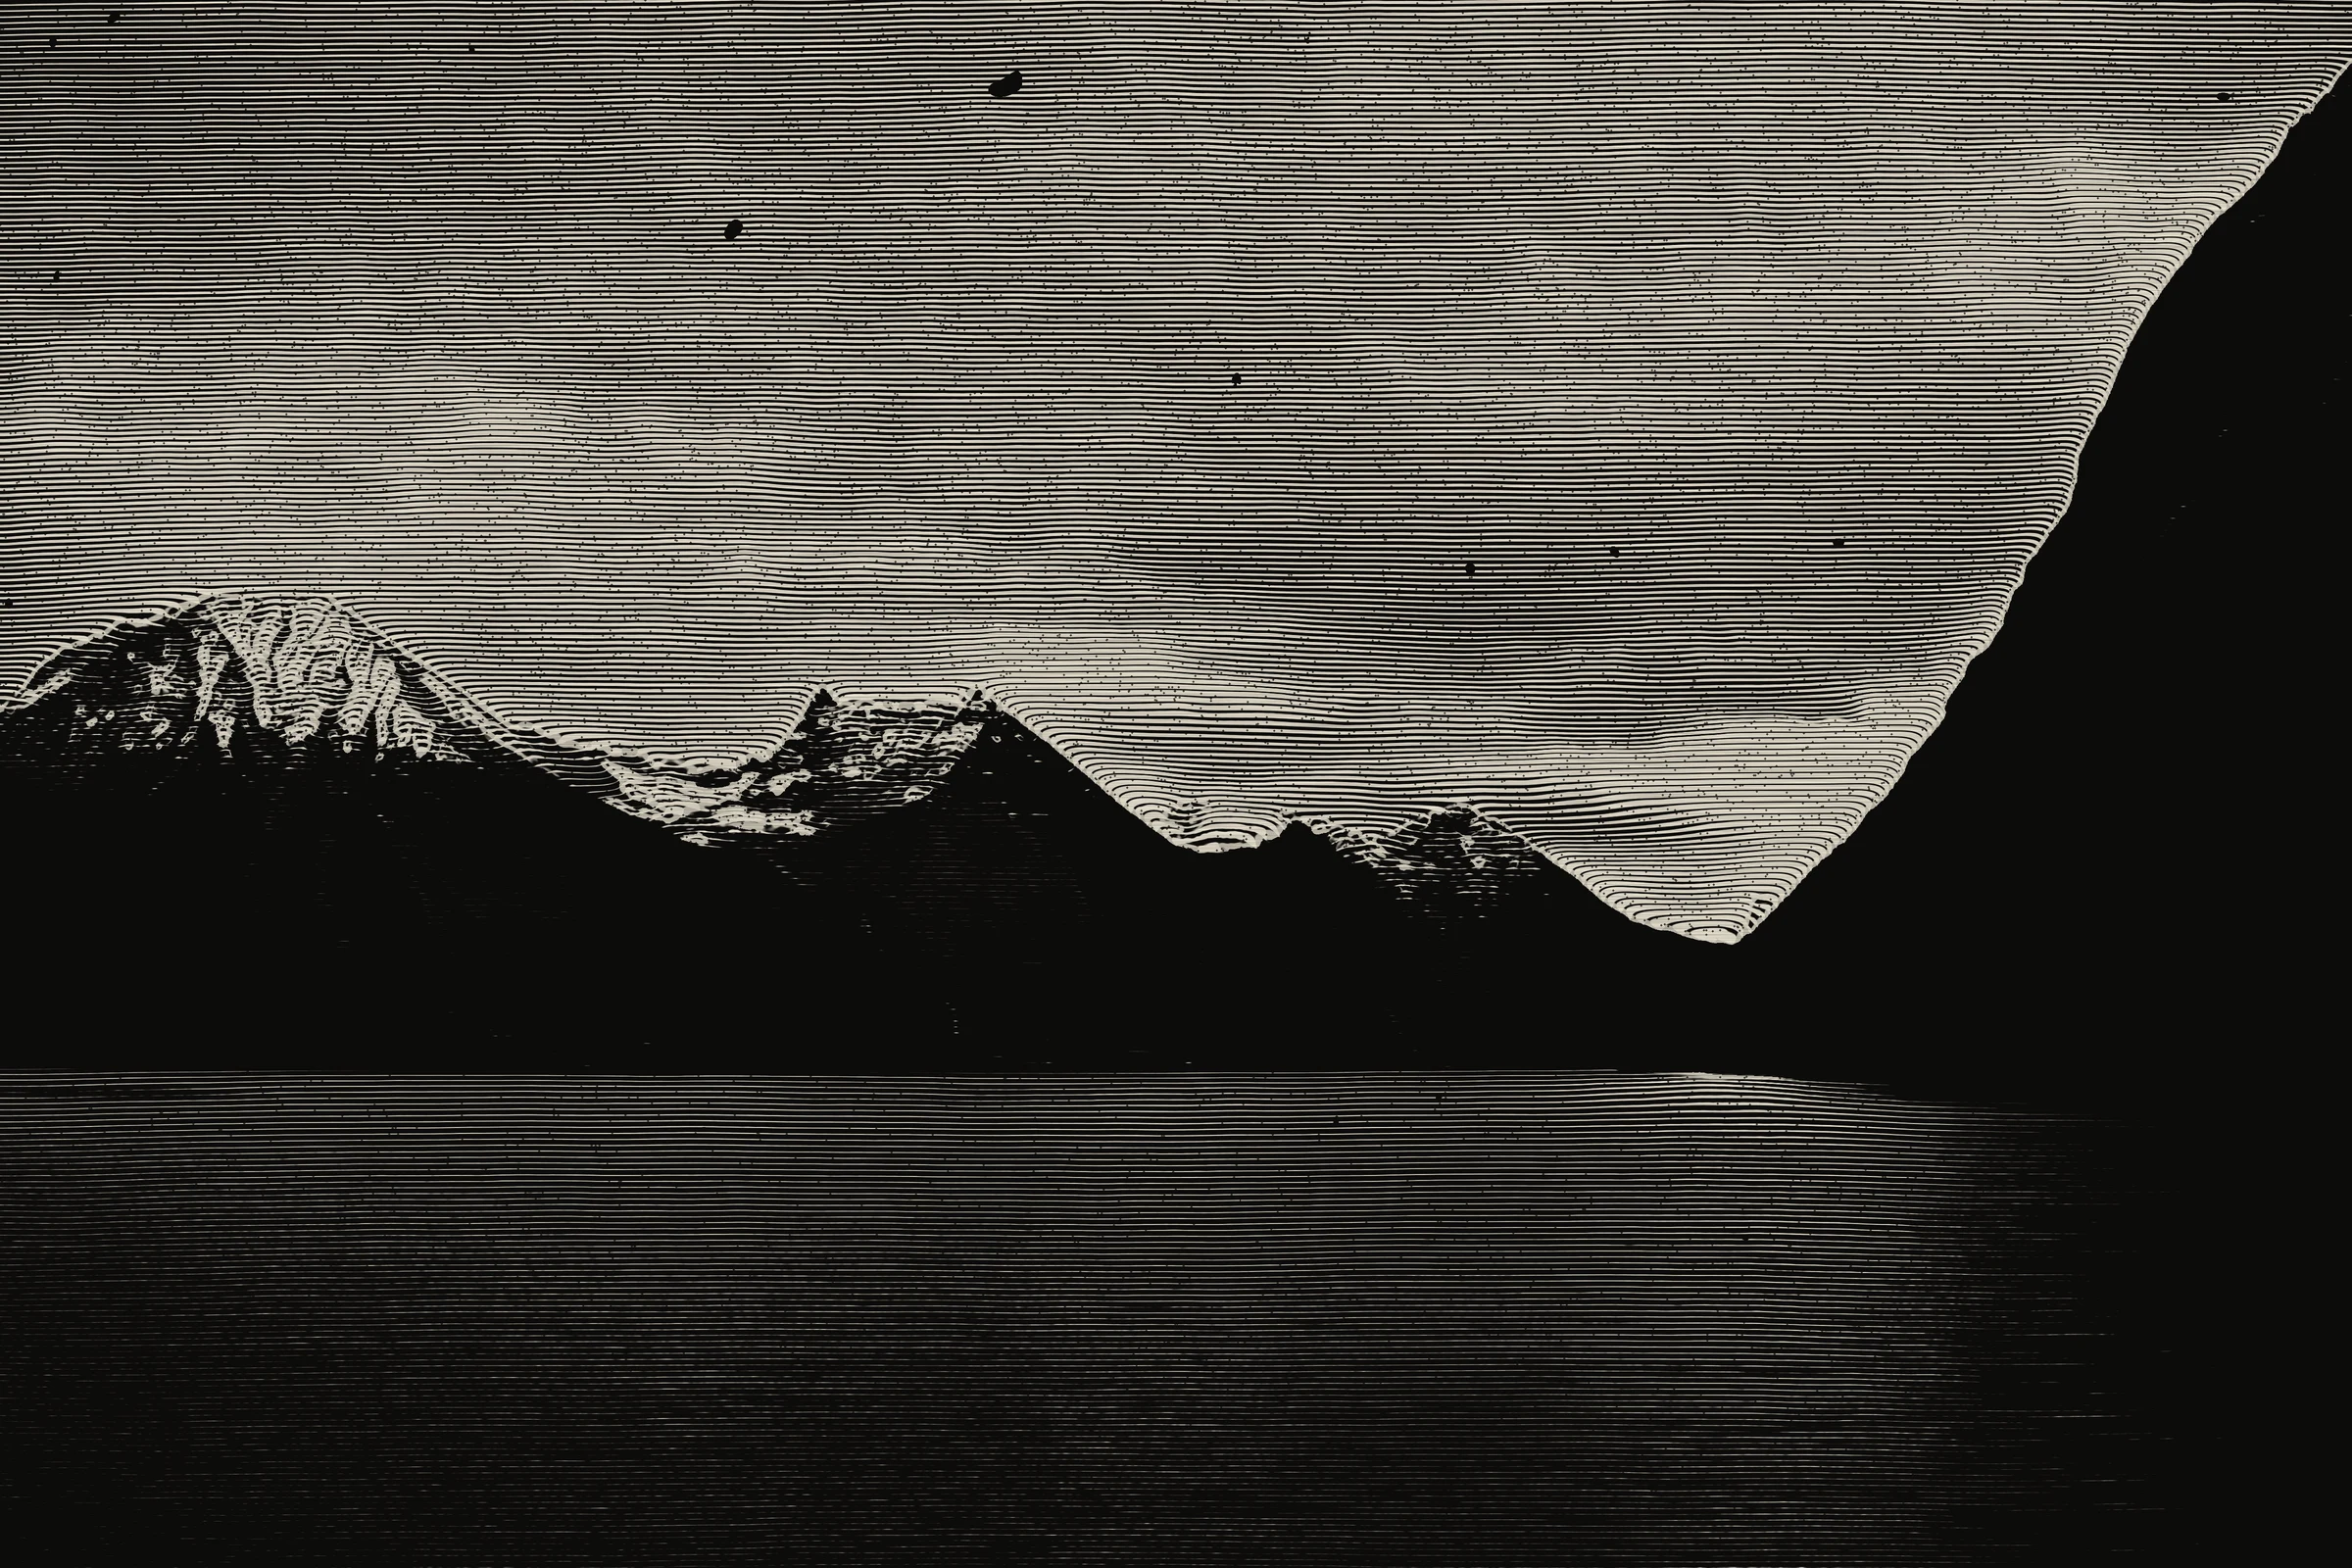
Any photo you add becomes a woodcut in the browser. Select a Woodcut layer to change line spacing, darkness, ink and paper colour, or switch the lantern to Off.
03
Categories and marks
CMS › Categories holds the folder colour, ink colour, line and mark. The eight marks are SVGs in the Assets panel; upload your own if you like.
04
Your name in carved letters
Select any Carved Wordmark layer and type your name. Letters stretch to fill the box. Switch Look to Carved for the stone-and-paint version.
05
Colours and type
Change the Pitch, Bone, Blood and Frost colour styles and every page follows. Type styles use Big Shoulders, Geist and Geist Mono.
06
Hero print
The hero uses two prints made from one photo (normal and lit). To use your own photo, set the hero Woodcut to Engrave photo and pick an image.